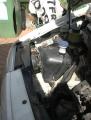
This is where the washer bottle moved to when its place behind the bumper was taken by one of the new batteries. Note that the long spout needed to be cut shorter.
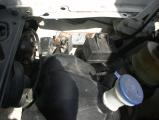
Bracket behind washer bottle onto which the glow-plug timer and offside end of washer battle are mounted - just to make everything fit in.
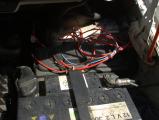
This is where all the wiring from the batteries and the connections coming through the bulkhead connector ends up. A box full of electronics will go here one day...
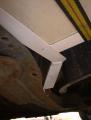
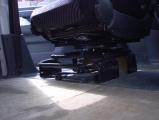
6V 100A Battery mounted in purpose-made welded frame. There is one of these mounted inside the bumper in either corner.
Passenger seat swivel, made from C15 van rear hub, some table-legs and a tent-peg for the locking mechansim. This is in the rear-facing position. The seat is from a citroen BX GTI, which I had used in the previous van.
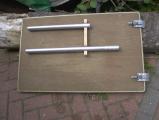
Table mounted in position on the bar attached to the door. This is OK so long as you remember not to try and open that door...
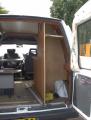
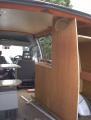
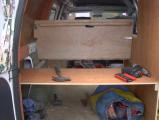
General view of rear layout. This part is the non-removable bit. More shelves and an internal access door have gone in since.
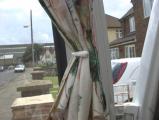
Rear window curtain hook (from an old wardrobe and painted).
Herre you can see the sleeping-bag stuffing hole.
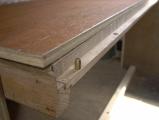
Legs on bottom of table - short one for bed mode, long one for table mode.
This is the catch on the table legs - holds them in place nicely.
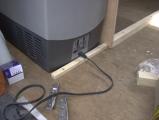
Fridge held in place by wooden strip
This is the ledge the table sits on in bed mode. That lug stops it sliding off
Seat folded up. Note strengthening strip and handle hole.
This bolt holds the RHS of the seat up.
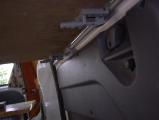
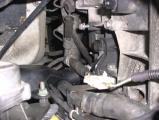
This is where the gearshift cables come in. You can see the black intake pipe on the left which gets in the way of the original routing. This is where much bracket redesign was needed.