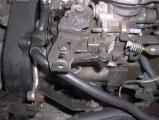
Injection pump. I'm not sure what determines how far out that bolt on the arm should be...
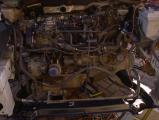
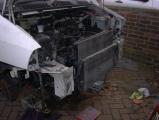
Engine put back in engine bay.
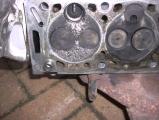
Bracket added to hold timing cover on. The donor engine had a different mount for the injection pump with an extra bolt hole here, but it was too much faff to swap these over so an extra bracket was needed.
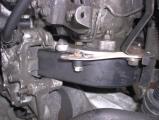
Gearbox bracket that needed a lot of work to fit new engine. Added spacers to shift it up 20mm. and moved attachment point for one of the shifters so it comes in underneath - you can just see the end of it lying wonky in the middle of the pic. This needed an extra arm adding to make it all work.
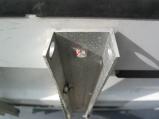
Nicely painted front crossmember
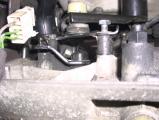
this bracket on the bottom of the turbo (from an 806) expects a different engine mounting bracket so those two bolt holes have somethig to do, but that bracket has a larger intermendiate bearing so it wouldn't fit my driveshafts, so the bracket gets to do nothing.
Downpipe from a scrapper 806. Holed at the point where condensation collects, so needed a patch welding on.
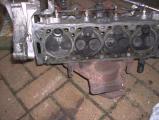
Most of the mechanics and piping back together - engine, rad, intercooler
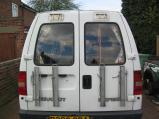
Rear back rack. Allows doors to be used when bikes are attached.
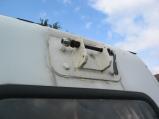
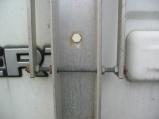
Top mount. Made from steel U-channel and plate and an old QR skewer. Rubber seal behind and lots of silicone to keep water out of door.
Rack folded out. Adjust cord length to suit your bikes (or when you get a different one).
Top mount bolted through inner and outer door panel. Void filled with builders foam to give some rigidity to construction.
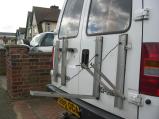
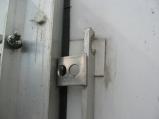
Hinge construction.
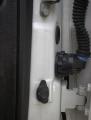
Catch to hold arm when not in use. Plastic pad siliconed on to protect paintwork.
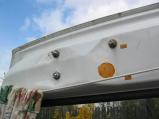
2" aluminium chanelling. Slot cut in back to weaken it and side splayed to fit tyre.
These are 'cinch' connectors. Nice bits of kit except that the 20-way connector has 2 ways fitted and then is gunged up with polyurethane. It's very tedious to hack some off and get the goo out to pout some more in, and even harder to source the crimps. Had to do this to add 5 more wires for central locking. Still - final result is neat